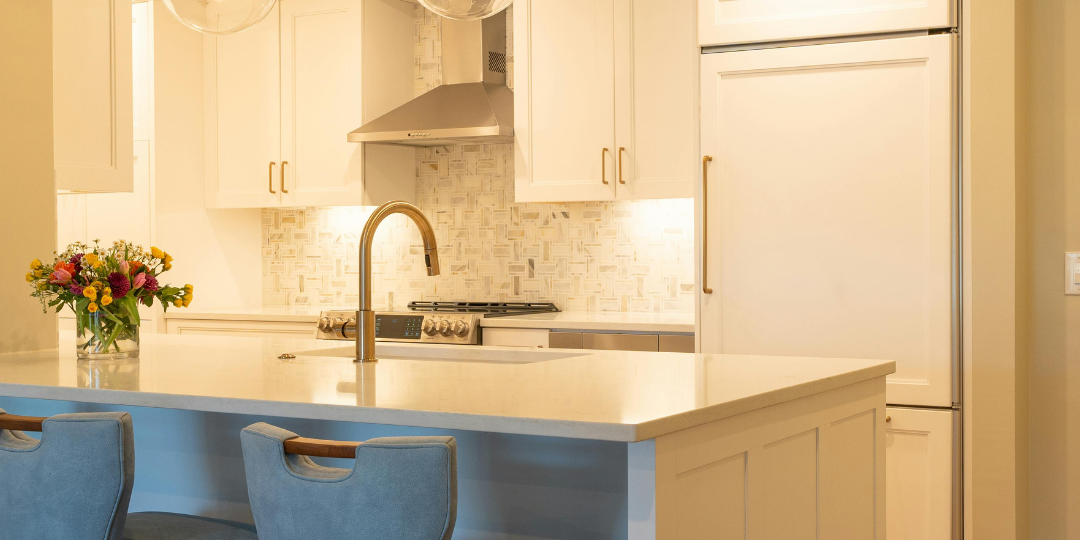
Lighting is the part of a kitchen that most people notice only when it’s wrong. You’re chopping onions in your own shadow, or the room feels flat and dim at night even though there’s a fixture right overhead. A well-lit kitchen doesn’t happen by accident, and it’s one of the easier things to get right during a remodel if you plan for it early. Do it well and the same room can feel bright and businesslike while you cook, then warm and relaxed when friends are over. Here’s how to think about it.
Why One Overhead Light Isn’t Enough
The most common lighting setup in an older kitchen is a single fixture in the middle of the ceiling. It seems logical, but it creates a real problem: when you stand at the counter to work, your own body blocks the light coming from behind you. You’re literally working in shadow at the exact spots where you need to see best.
One light source also flattens the whole room. Everything gets the same even wash, which sounds fine until you realize there’s nothing to make the space feel layered or inviting. Good kitchen lighting uses several sources at different heights, each doing a specific job. That’s the whole idea behind layering, and it’s the foundation everything else builds on.
The Three Layers: Task, Ambient, and Accent
Task lighting is the workhorse. It’s the focused light on your counters, your cooktop, and your sink, the places where you actually do things. Under-cabinet lighting is the classic example, and it’s one of the highest-impact upgrades in any kitchen because it puts light exactly where your hands are, no shadows involved.
Ambient lighting is the general fill that makes the room comfortable to be in. Recessed ceiling lights, a central fixture, or even a well-placed flush mount can handle this. It’s the base layer that keeps the space from feeling like a cave once the sun goes down, which matters through the shorter days of a Northern Colorado winter.
Accent lighting is the finishing touch. Think lighting inside glass-front cabinets, a strip that grazes a beautiful backsplash, or a fixture that highlights an architectural feature. It doesn’t help you cook, but it gives the kitchen depth and personality at night. You don’t need all three layers running at full blast at once, which is exactly the point. You mix them depending on what you’re doing.
Lighting the Spots That Actually Matter
Once you’re thinking in layers, focus on the three areas that do the most work. Counters come first, and under-cabinet lighting is the answer almost every time. If your remodel includes new cabinetry, it’s the perfect moment to wire this in cleanly rather than adding it on later.
The sink is the second spot. A lot of kitchens leave the sink in shadow, especially when it sits under a window with no fixture above it. A recessed light or a small pendant over the sink fixes that in a second. The third is the island, which has become the heart of most kitchens we design. It usually calls for its own dedicated lighting, both because it’s a prep zone and because it’s where people gather. How you light it depends a lot on your kitchen layout, so it’s worth deciding on the island’s role before you pick fixtures.
Getting Pendant Lights Right Over an Island
Pendants over an island are a signature look, and they’re also easy to get slightly wrong. Two things matter most: height and spacing.
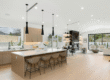
For height, most designers hang pendants so the bottom of the fixture sits roughly 30 to 36 inches above the countertop. High enough that they don’t block sightlines across the island, low enough that they actually light the surface and feel intentional. For spacing, let the size of your island guide you. Two larger pendants suit many islands, while three smaller ones can look better over a long run. The trick is keeping them evenly spaced and centered over the island, not over the walkway beside it. Scale is the thing people miss. Pendants that are too small look like an afterthought floating in space, so it’s usually better to go a touch larger than you think.
Warmth, Dimmers, and Colorado Light
Two settings quietly make or break how a kitchen feels. The first is color temperature, measured in Kelvin. For a kitchen that needs to feel warm and welcoming but still crisp enough to work in, somewhere in the 2700K to 3000K range tends to hit the sweet spot. Go much cooler and the room can start to feel clinical.
The second is dimmers, and they’re worth every penny. Dimmers are what let one kitchen do two jobs. Bright and full for weeknight cooking and homework at the island, then dialed down and soft when you’re pouring wine and the conversation has moved in from the dining and living space. If your home has the big windows and open sightlines common in newer Front Range builds, plan your electrical layout around how the natural light moves through the room during the day, so your fixtures complement it instead of fighting it. Lighting is one of those details that costs relatively little in the scope of a full remodel but changes how the kitchen feels every single day.
Let HWG Services Design Kitchen Lighting That Works as Hard as You Do
Good lighting is planned into a kitchen from the start, not squeezed in at the end, because it ties directly to your cabinetry, your island, and your electrical layout. At HWG Services Remodeling and Construction, we design and build kitchens for homeowners across Fort Collins and Northern Colorado, and we’ll help you map out a lighting plan that fits how you actually cook and entertain. If a kitchen remodel is on your horizon, let’s make sure the lighting is something you notice for the right reasons. Reach out to us today.
FAQ: Kitchen Lighting in Fort Collins Homes
1. What are the three types of kitchen lighting?
Task, ambient, and accent. Task lighting focuses on work areas like counters and the sink, ambient lighting fills the room, and accent lighting adds depth and highlights features. A good kitchen uses all three.
2. How high should pendant lights hang over an island?
Most designers put the bottom of the pendant around 30 to 36 inches above the countertop. That keeps sightlines clear while still lighting the surface well. The exact height can shift a little based on ceiling height and fixture size.
3. Is under-cabinet lighting worth it?
For most kitchens, yes. It puts light right on the counter where you work and removes the shadow you cast standing under a ceiling light. It’s one of the most noticeable upgrades for the cost.
4. What color temperature is best for a kitchen?
Somewhere in the 2700K to 3000K range works well for most kitchens. It’s warm enough to feel inviting but still bright enough to cook by. Cooler tones can make the room feel cold.
5. Should I put my kitchen lights on dimmers?
It’s one of the best small investments you can make. Dimmers let the same kitchen go from bright and functional for cooking to soft and relaxed for entertaining, all with one switch.
6. Can lighting be updated without a full kitchen remodel?
Some of it can, like adding under-cabinet strips or swapping fixtures. Bigger changes that involve moving or adding wiring are best done during a remodel when the walls and cabinets are already open.