
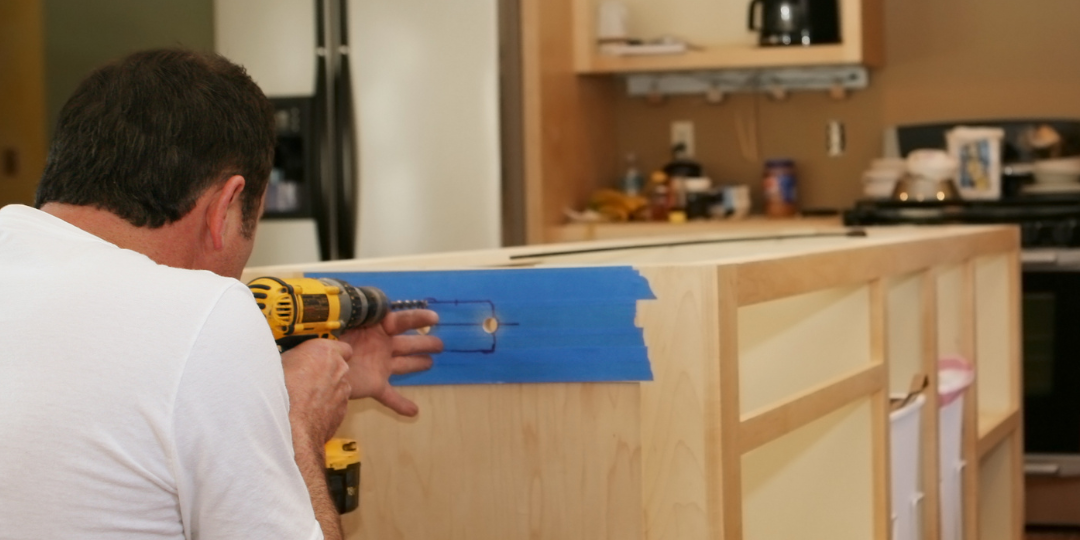
The island is usually the first thing people picture when they imagine a new kitchen, and it’s often the part that gets planned last. That’s how you end up with one that’s too big for the room, too small to be useful, or parked in a spot that turns cooking into an obstacle course. A good island does the opposite. It puts prep space where you need it, gives people somewhere to land while you cook, and adds a little breathing room to the part of the house that gets crowded fastest. If a kitchen remodel is on your mind here in Fort Collins, the island is worth slowing down for.
Start With How Your Kitchen Actually Gets Used
Before you think about size or finishes, figure out what you want the island to do. That sounds obvious, but it’s the step most people skip, and it’s the one that decides everything else.
An island built for a serious cook looks different from one built for a family that dumps backpacks and mail on it every afternoon. Some people want a big uninterrupted prep surface. Others want seating for kids to do homework while dinner comes together, or a spot where guests can hang out with a drink without standing in the middle of the work zone. A lot of the homes we work on around Northern Colorado have open floor plans, so the island also has to look good from the living room and not block the view out the back windows.
Pick the main job first. Prep, seating, storage, or a cooktop and sink. You can usually combine two of those without much trouble. Try to force all four into one island and something ends up compromised.
Getting the Size Right, and Leaving Room to Walk
The most common island mistake isn’t going too small. It’s going too big and choking off the space around it.
A good rule of thumb is to leave roughly 42 to 48 inches of clear walkway on every side of the island. Forty-two is comfortable for one cook. If two people share the kitchen, or if a walkway sits between the island and an appliance you open a lot, lean toward 48. You can drop to about 36 inches in a tight galley, but it starts to feel pinched, and it gets worse the second someone opens the dishwasher while you’re trying to squeeze by.
Work backward from those clearances instead of picking an island size first. Measure your kitchen, subtract the walkways, and whatever’s left is what the island can be. In a smaller Old Town kitchen, that math sometimes points to a peninsula or a compact island rather than the big showpiece from the magazine. That’s not a downgrade. An island that lets you move is worth far more than one that looks impressive and gets in your way every day.
Seating That People Will Actually Use
Seating is where islands quietly go wrong. The stools look great in the plan, then nobody can fit their knees under the counter.
Plan on about 24 inches of width per seat so people aren’t bumping elbows. Just as important is the overhang, the amount the countertop extends past the cabinets to make room for legs. For standard counter-height seating at 36 inches, you want somewhere around 12 inches of overhang. Raised bar-height tops need a bit more. Skimp on the overhang and the seats technically exist but never get used.
Height matters too. Counter-height seating at 36 inches uses stools in the 24 to 26 inch range and keeps everyone on one level, which most people prefer for eating and helping with prep. A raised bar around 42 inches hides a messy work surface from anyone sitting there, which some homeowners like for entertaining. Either works. Just don’t put the seating right next to the cooktop, because nobody wants to eat next to a hot pan or a splattering sauce.
Island Shapes and Layouts That Fit Colorado Homes
Once size and seating are settled, the shape tends to fall into place.
A simple rectangle handles most kitchens and gives you the most usable surface for the footprint. An L-shaped island can wrap prep space around a cooktop or corral seating on one leg, which works well when you want to separate the cooking zone from where people gather. In the larger newer homes we see in places like Timnath and Windsor, a double island is worth considering: one island for prep and cleanup, the other purely for seating and serving. It keeps guests out of the work triangle without pushing them out of the room.
If you’re adding a prep sink or a cooktop to the island, know that it changes the scope of the remodel. You’re now running plumbing, and sometimes gas and extra electrical, into the middle of the floor. It’s very doable, and it makes a hardworking island even better, but it’s the kind of decision to make early because it affects the budget and the build. Storage is the easy win here. Deep drawers, a trash pull-out, and cabinets facing the seating side turn the island into the most useful cabinetry in the kitchen.
Small Details That Make a Big Difference
A few finishing choices separate an island that’s fine from one you love. Electrical code generally calls for at least one outlet serving an island, and your builder will handle where it goes and how it’s hidden. Pendant lighting should be sized and spaced to the island rather than dropped in by guesswork, since lights that are too small or off-center throw the whole room off. Mixing in a butcher-block end for prep, or running the counter material down the side as a waterfall edge, adds character without much fuss. None of these are expensive on their own. Together they’re the difference between an island that works and one that works and feels finished.
Let HWG Services Design a Kitchen That Works Around Its Island
An island touches everything else in the kitchen. The cabinets, the traffic flow, the plumbing, the electrical, the lighting. That’s exactly why it pays to plan it as part of the whole room instead of dropping it in at the end. At HWG Services Remodeling and Construction, we design and build kitchens for homeowners across Fort Collins and Northern Colorado, and we can help you land on the right size, seating, and layout for the way you actually cook and gather. If a new kitchen is on your list, let’s talk about what the right island could do for your space.
FAQ: Kitchen Islands for Fort Collins Homes
1. How much space do I need around a kitchen island?
Aim for about 42 to 48 inches of clear walkway on each side. Forty-two is comfortable for one cook, and 48 is better if two people share the kitchen or if the aisle sits in front of an appliance you open often. Tighter than 36 inches starts to feel cramped.
2. How many people can I seat at an island?
Plan on roughly 24 inches of width per seat, and make sure the countertop overhangs enough for knees, around 12 inches for standard counter height. A typical island seats two to four comfortably, though it depends entirely on your island’s length and layout.
3. Is my kitchen too small for an island?
Maybe, and that’s fine. If the walkways don’t work once you subtract the island, a peninsula or a compact island often gives you the same prep space and seating without blocking the room. It’s worth measuring before you rule anything out.
4. Can I put a sink or cooktop in my island?
Yes, and it’s a great use of the space, but it adds plumbing and sometimes gas and electrical to the middle of the floor. That affects the budget and the build, so it’s a decision to make early in the planning rather than partway through.
5. Should I choose counter-height or bar-height seating?
Counter height at 36 inches keeps everyone on one level and tends to feel better for eating and helping with prep. A raised bar around 42 inches hides the work surface from guests, which some people prefer for entertaining. Both work, so it comes down to how you use the kitchen.
6. Do I need special lighting or outlets for an island?
Electrical code generally requires at least one outlet serving an island, which your builder will plan for. Pendant lighting should be sized and spaced to the island itself so it lights the surface evenly and looks intentional rather than added on.